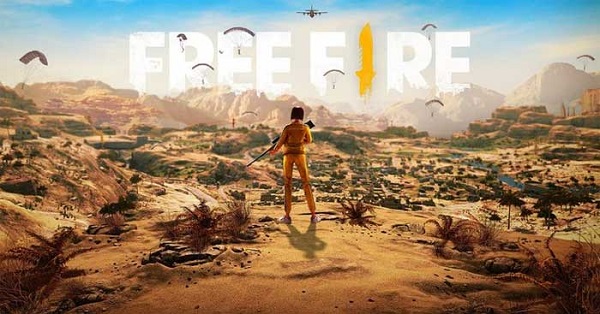
Garena Free Fire has captured the hearts of millions of gamers worldwide with its fast-paced, action-packed gameplay. Among its various maps, Kalahari is one of the most challenging and exciting. This desert-themed map offers a unique blend of open spaces, tight corners, and strategic points of interest. In this comprehensive guide, we’ll walk you through everything you need to know to dominate in Kalahari, from understanding the map’s layout to advanced strategies and tips.
Introduction to Kalahari in Garena Free Fire
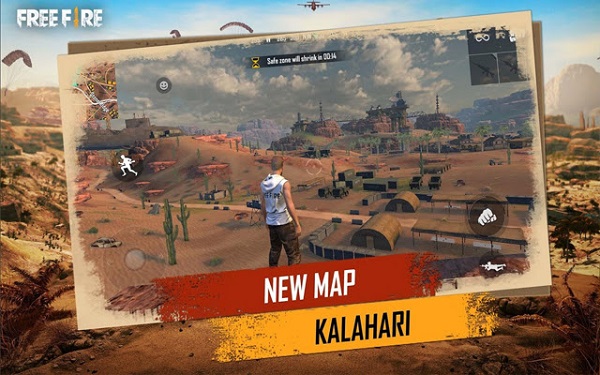
Kalahari was introduced to Garena Free Fire in early 2020, quickly becoming one of the most popular maps in the game. Unlike Bermuda, Kalahari is smaller and more challenging, with its arid landscapes and unforgiving environment. The map’s design encourages aggressive gameplay, making it a favorite for players who enjoy intense, close-quarters combat.
Understanding Kalahari’s Unique Environment
Kalahari is a desert map, characterized by its dry, sandy terrain and rocky outcrops. It features a mix of open spaces, where players are vulnerable to long-range attacks, and enclosed areas, where close-quarters combat is inevitable. The map’s dynamic environment requires players to constantly adapt their strategies based on their location and the game’s progression.
Importance of Mastering Kalahari
Mastering Kalahari is essential for any serious Garena Free Fire player. The map’s unique challenges and fast-paced gameplay require a deep understanding of its layout and mechanics. Whether you’re playing solo, in duos, or in squads, knowing how to navigate Kalahari can be the difference between victory and defeat.
How to Land Safely and Secure Early Game Loot
The first few minutes of any match in Kalahari are crucial. Where you land and how quickly you secure loot can set the tone for the rest of the game.
Best Landing Spots in Kalahari
Choosing the right landing spot is key to starting your game on the right foot. Kalahari has several high-tier loot areas where you can find powerful weapons and gear. Some of the best landing spots include:
- Refinery: Located at the center of the map, Refinery is a hot zone with high-risk, high-reward loot. Landing here guarantees you’ll encounter enemies early on, but the loot is worth the risk.
- Command Post: Another popular spot, Command Post offers excellent loot and strategic positioning. Its elevated terrain provides a good vantage point for spotting enemies.
- The Sub: If you prefer a slightly more secluded start, The Sub is a great choice. It’s a bit off the beaten path, but the loot is still decent, and you’re less likely to face immediate combat.
Securing Early Game Loot
Once you’ve landed, your priority should be to secure weapons, armor, and healing items as quickly as possible. Start by looting the buildings closest to you, focusing on grabbing a weapon first. If you land in a high-risk area like Refinery, be prepared to engage in combat almost immediately. Use the environment to your advantage, taking cover behind walls and structures as you loot.
Navigating Kalahari’s Terrain: Tips and Tricks
Kalahari’s terrain is diverse and challenging, with a variety of landscapes that require different strategies. Understanding how to navigate the map effectively can give you a significant advantage.
Using High Ground to Your Advantage
Kalahari features several elevated areas, such as Stone Ridge and The Maze, which provide excellent vantage points. Securing high ground allows you to spot enemies from a distance and engage them on your terms. However, be mindful of your surroundings, as other players may also be aiming to take the high ground.
Moving Through Open Spaces
One of the biggest challenges in Kalahari is moving through open spaces without getting picked off by snipers. When crossing open areas, always keep an eye on potential cover spots, such as rocks or abandoned vehicles. Move in short bursts and avoid running in straight lines to make yourself a harder target.
Urban Combat in Kalahari
Kalahari’s urban areas, like Shrine and Santa Catarina, are perfect for close-quarters combat. When navigating these areas, use buildings to your advantage by moving through them rather than around them. Always check corners and be ready for ambushes, as these areas are often hotspots for enemy encounters.
How to Choose the Best Loadout for Kalahari
Your loadout plays a critical role in your success on Kalahari. The map’s unique environment means that different weapons and items are more effective in different situations.
Recommended Weapons for Kalahari
- Sniper Rifles: Due to the open nature of the map, sniper rifles like the AWM or Kar98k are essential for long-range engagements. These weapons allow you to take out enemies from a distance, especially when you’re positioned on high ground.
- Assault Rifles: For versatile combat, assault rifles like the SCAR or AK are excellent choices. They perform well in both mid-range and close-quarters combat, making them a reliable option throughout the match.
- Shotguns: In urban areas, shotguns like the M1887 or M1014 are devastating in close-quarters combat. Their high damage output can quickly eliminate enemies in tight spaces.
Essential Gear and Items
In addition to weapons, certain gear and items are crucial for survival in Kalahari. Always prioritize picking up the following:
- Gloo Walls: These are invaluable for creating instant cover in open spaces or during intense firefights.
- Med Kits and Inhalers: Healing items are essential, especially in a map like Kalahari where you’re likely to take damage frequently.
- Armor and Helmets: Always prioritize upgrading your armor and helmet to reduce incoming damage and increase your survivability.
How to Survive and Thrive in the Mid-Game
The mid-game phase of a match in Kalahari is where things start to heat up. By now, the player count has usually dropped, and the remaining survivors are more likely to be well-equipped and skilled.
Rotating to Safe Zones
As the play area shrinks, you’ll need to move towards the safe zone. Rotating effectively is key to avoiding unnecessary fights and positioning yourself for the late game. Always keep an eye on the map and plan your rotations early to avoid getting caught in the shrinking zone.
Engaging or Avoiding Fights
In the mid-game, you’ll often have to decide whether to engage an enemy or avoid the fight altogether. If you’re low on resources, it’s often better to avoid unnecessary confrontations. However, if you’re well-equipped and confident in your abilities, taking out enemies can help you secure more loot and reduce the number of threats in the late game.
Using Vehicles for Mobility
Vehicles can be a double-edged sword in Kalahari. While they allow you to cover ground quickly, they also make you a target due to the noise they generate. Use vehicles strategically, either to quickly escape the shrinking zone or to reposition yourself in a better location. Always be ready to bail out if you come under fire.
How to Dominate the Late Game in Kalahari
The late game is where your skills and strategy are put to the ultimate test. With fewer players left, every decision you make is crucial.
Securing a Strong Position
In the late game, positioning is everything. Try to secure a spot in the safe zone that offers both cover and a good vantage point. Areas like Refinery or Command Post can be excellent choices if they’re within the safe zone, as they offer high ground and multiple escape routes.
Managing Resources
By the late game, your resources should be carefully managed. Ensure you have enough ammo, healing items, and Gloo Walls to sustain you through the final confrontations. If you’re running low, consider taking out a nearby player to restock before the final showdown.
Final Circle Strategies
When the circle is at its smallest, the game becomes incredibly tense. At this stage, patience and precision are key. Move carefully, use cover wisely, and only engage when you’re confident you can secure the kill. In the final moments, every shot counts, and even the smallest mistake can cost you the victory.
How to Play Kalahari in Different Modes
Kalahari offers a different experience depending on whether you’re playing solo, in duos, or in squads. Each mode requires a slightly different approach to succeed.
Solo Mode Strategies
In solo mode, you’re entirely on your own, so every decision is critical. Play cautiously, avoid unnecessary fights, and focus on staying within the safe zone. Use the environment to your advantage, and always be mindful of your surroundings.
Duos Mode Strategies
In duos, teamwork is crucial. Coordinate with your partner, share resources, and cover each other’s backs. Communication is key, especially when planning rotations or deciding when to engage enemies. Stick together, but avoid clustering too tightly to reduce the risk of both players being taken out simultaneously.
Squads Mode Strategies
In squads, strategy and communication are even more important. Assign roles within your team, such as a sniper, a medic, and an assault player, to ensure you’re prepared for any situation. Stick together, move as a unit, and use your numbers to overwhelm opponents. In the late game, consider splitting into pairs to cover more ground and flank enemies.
How to Improve Your Skills on Kalahari
Becoming proficient in Kalahari requires practice and a willingness to learn from your mistakes. Here are some tips for improving your gameplay on this challenging map.
Reviewing Your Matches
One of the best ways to improve is by reviewing your matches. Pay attention to where you landed, how you looted, and what decisions led to your survival or elimination. Identify patterns in your gameplay and look for areas where you can improve.
Practicing Aim and Movement
Kalahari’s fast-paced gameplay requires precise aim and quick movement. Spend time practicing your aim in the game’s training mode or by playing more matches. Focus on improving your headshot accuracy, as this can make a huge difference in close-quarters combat.
Learning from Other Players
Watching skilled players, whether through streams, YouTube videos, or by spectating in-game, can provide valuable insights into how to play Kalahari effectively. Pay attention to their positioning, decision-making, and how they handle different situations.
Common Mistakes to Avoid in Kalahari
Even experienced players can make mistakes on Kalahari. Avoiding these common pitfalls can help you survive longer and increase your chances of winning.
Overexposing Yourself
One of the most common mistakes is overexposing yourself in open areas. Always be mindful of your surroundings and use cover whenever possible. Avoid running in open spaces unless absolutely necessary, and when you do, move quickly and unpredictably.
Ignoring the Safe Zone
Another common mistake is paying too much attention to looting or fighting and not enough to the safe zone. Always keep an eye on the timer and plan your rotations early. Getting caught outside the safe zone can lead to unnecessary damage or even elimination.
Engaging in Unnecessary Fights
While it can be tempting to engage every enemy you see, sometimes it’s better to avoid confrontation, especially if you’re low on resources or positioned poorly. Pick your battles wisely and focus on surviving until the late game.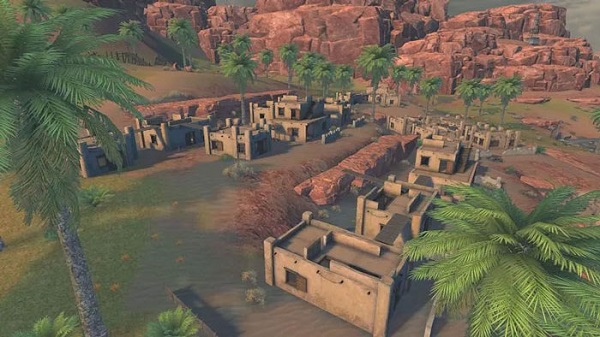
Conclusion: Mastering Kalahari in Garena Free Fire
Garena Free Fire: Kalahari is a map that challenges even the most experienced players. Its unique environment, fast-paced gameplay, and strategic depth make it a thrilling experience every time you drop in. By understanding the map, choosing the right loadout, and applying the strategies outlined in this guide, you can improve your chances of coming out on top. Whether you’re playing solo, in duos, or in squads, mastering Kalahari will make you a formidable player in Garena Free Fire.
So gear up, drop into Kalahari, and remember: only the strongest survive in the desert.